Mountain Biking for Beginners in Northeast Ohio
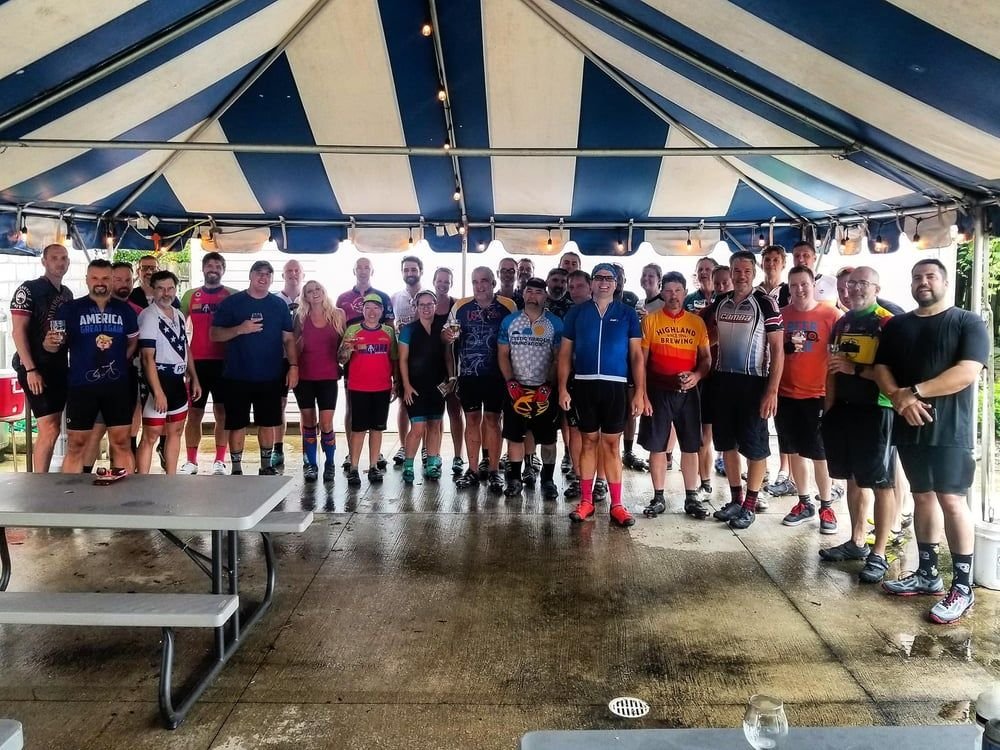
Mountain biking looks intimidating from the outside: steep hills, expensive bikes, riders who seem to float over roots and rocks. The reality is much friendlier. Most people who ride trails around Youngstown started with a borrowed or secondhand bike, a helmet and a lot of walking up hills. This guide is for anyone in Northeast Ohio who wants to give it a try.
Step 1: Get a Suitable Bike
You do not need an expensive bike to start, but you do need one that is built for dirt. A department-store bike that looks like a mountain bike often has weak brakes, heavy parts and components that fail quickly on real trails. Look for these basics:
- Frame size that fits you. You should be able to stand over the bike with both feet on the ground and reach the handlebars without stretching.
- Hydraulic disc brakes. They give reliable, controllable stopping power in wet and dry conditions.
- A front suspension fork. Most beginners do very well on a "hardtail," a bike with front suspension only.
- Wide gear range. Easy climbing gears make short, steep hills manageable.
- Knobby tires around 2.2 inches wide or more for grip and comfort.
Renting or borrowing a bike for your first few rides is a smart way to learn what you like before you buy. If you buy used, ask a local bike shop to check it over. Worn brake pads, a stretched chain or a leaking fork can turn a bargain into an expensive repair.
Step 2: Basic Gear
Keep it simple at first. The essentials are:
- A helmet that fits snugly and is designed for cycling. Many mountain bike helmets have a visor and extra coverage at the back of the head.
- Gloves for grip and to protect your hands in a fall.
- Eye protection against branches, bugs and dust.
- Comfortable clothes you can move in. Avoid loose pant legs that can catch in the chain.
- Flat-soled shoes with some grip if you ride flat pedals, which most beginners should.
- Water and a small repair kit. See our what to bring list.
Padded shorts, clipless pedals, knee pads and hydration packs are all nice to have later, once you know how often and how far you ride.
Step 3: Learn a Few Core Skills
You can practice most of the fundamentals in a park or an empty parking lot before you ever hit the trail.
The ready position
On descents and rough ground, stand on the pedals with the cranks level, knees and elbows slightly bent, and your weight centered over the bike. This "ready" or "attack" position lets the bike move underneath you instead of bouncing you around.
Braking
Use both brakes, with one or two fingers on each lever. Most of your stopping power comes from the front brake, but grabbing it hard on a steep or loose surface can cause a fall. Squeeze smoothly, and do most of your braking in a straight line before a turn rather than in the middle of it.
Looking ahead
Your bike goes where you look. Beginners tend to stare at the obstacle they are trying to avoid, and then hit it. Look several bike lengths ahead, and in turns, look toward the exit of the corner.
Shifting before climbs
Shift into an easier gear before the hill starts, while you are still pedaling lightly. Shifting under heavy load halfway up a steep climb often causes a stall or a dropped chain.
Getting over small obstacles
For small roots and logs, approach at a steady speed, stay loose, lift your weight slightly off the front wheel as it reaches the obstacle, then let the rear wheel roll over. If something looks too big, walk it. Everyone does.
Step 4: Choose the Right First Trail
Your first trail ride should build confidence, not test your limits. Look for trails with smooth tread, few rocks and gentle climbs. In our area, the singletrack at Lake Milton State Park is a popular choice for newer riders because it has almost no rocks and only short climbs, although its many tight turns take some practice. Start with a shorter loop and build up.
Save steeper, more technical terrain like Beaver Creek State Park for later, once you are comfortable braking, cornering and climbing on dirt.
Trail maps and user-reported difficulty ratings on apps like Trailforks help you choose. The Our Trails page has an overview of the trails RBRTC maintains.
Step 5: Your First Trail Ride
- Check conditions first. Do not ride soft, muddy trails. It damages the tread and is no fun for a beginner anyway. Read why wet trails matter.
- Do a quick bike check. Tires, brakes and bolts. Our pre-ride checklist takes two minutes.
- Go with someone. A friend who rides can show you lines and help with a flat tire.
- Keep the pace easy. Stop often, drink water and enjoy the woods.
- Walk what you are unsure of. Walking a tricky section is part of learning.
- Know the etiquette. Yield to hikers and horses and let faster riders pass. See our trail etiquette guide.
Common Beginner Mistakes
- Tire pressure too high. Road-bike pressures make mountain bike tires bounce and slide. Ask a shop or an experienced rider for a starting point based on your weight and tires.
- Sitting down on descents. Stand up, bend your knees and let the bike move.
- Death grip on the bars. Hold firmly but stay relaxed through your arms and shoulders.
- Riding too far, too soon. Short rides that end with a smile beat long rides that end in exhaustion.
- Skipping maintenance. A clean, lubricated chain and working brakes make every ride better.
Step 6: Find Your People
The fastest way to improve is to ride with others. Local riders are generally happy to share tips, recommend trails and point you toward good bikes and shops. Rust Belt Revival Trail Coalition exists partly for this reason: to create opportunities to promote, learn and grow the sport of mountain biking in the Youngstown area.
Join the RBRTC Facebook group to ask questions, find riding partners and see trail updates. When you are ready, lend a hand at a trail work day. It is a great way to meet riders and learn how trails work. Check the Events page for upcoming dates, and see Join Us for membership details.
Summary
Getting started in mountain biking takes less than most people think: a trail-worthy bike that fits, a helmet, gloves, water and a basic repair kit. Practice braking, looking ahead and shifting early, pick a smooth first trail, check conditions, and ride with friends. Most of all, be patient with yourself. Every rider you see gliding through the woods once walked their bike up the same hill.
Ride With Us, Build With Us
Rust Belt Revival Trail Coalition is a volunteer IMBA chapter that builds and maintains mountain bike trails near Youngstown, Ohio. Join a trail day, become a member or follow along in our Facebook group.